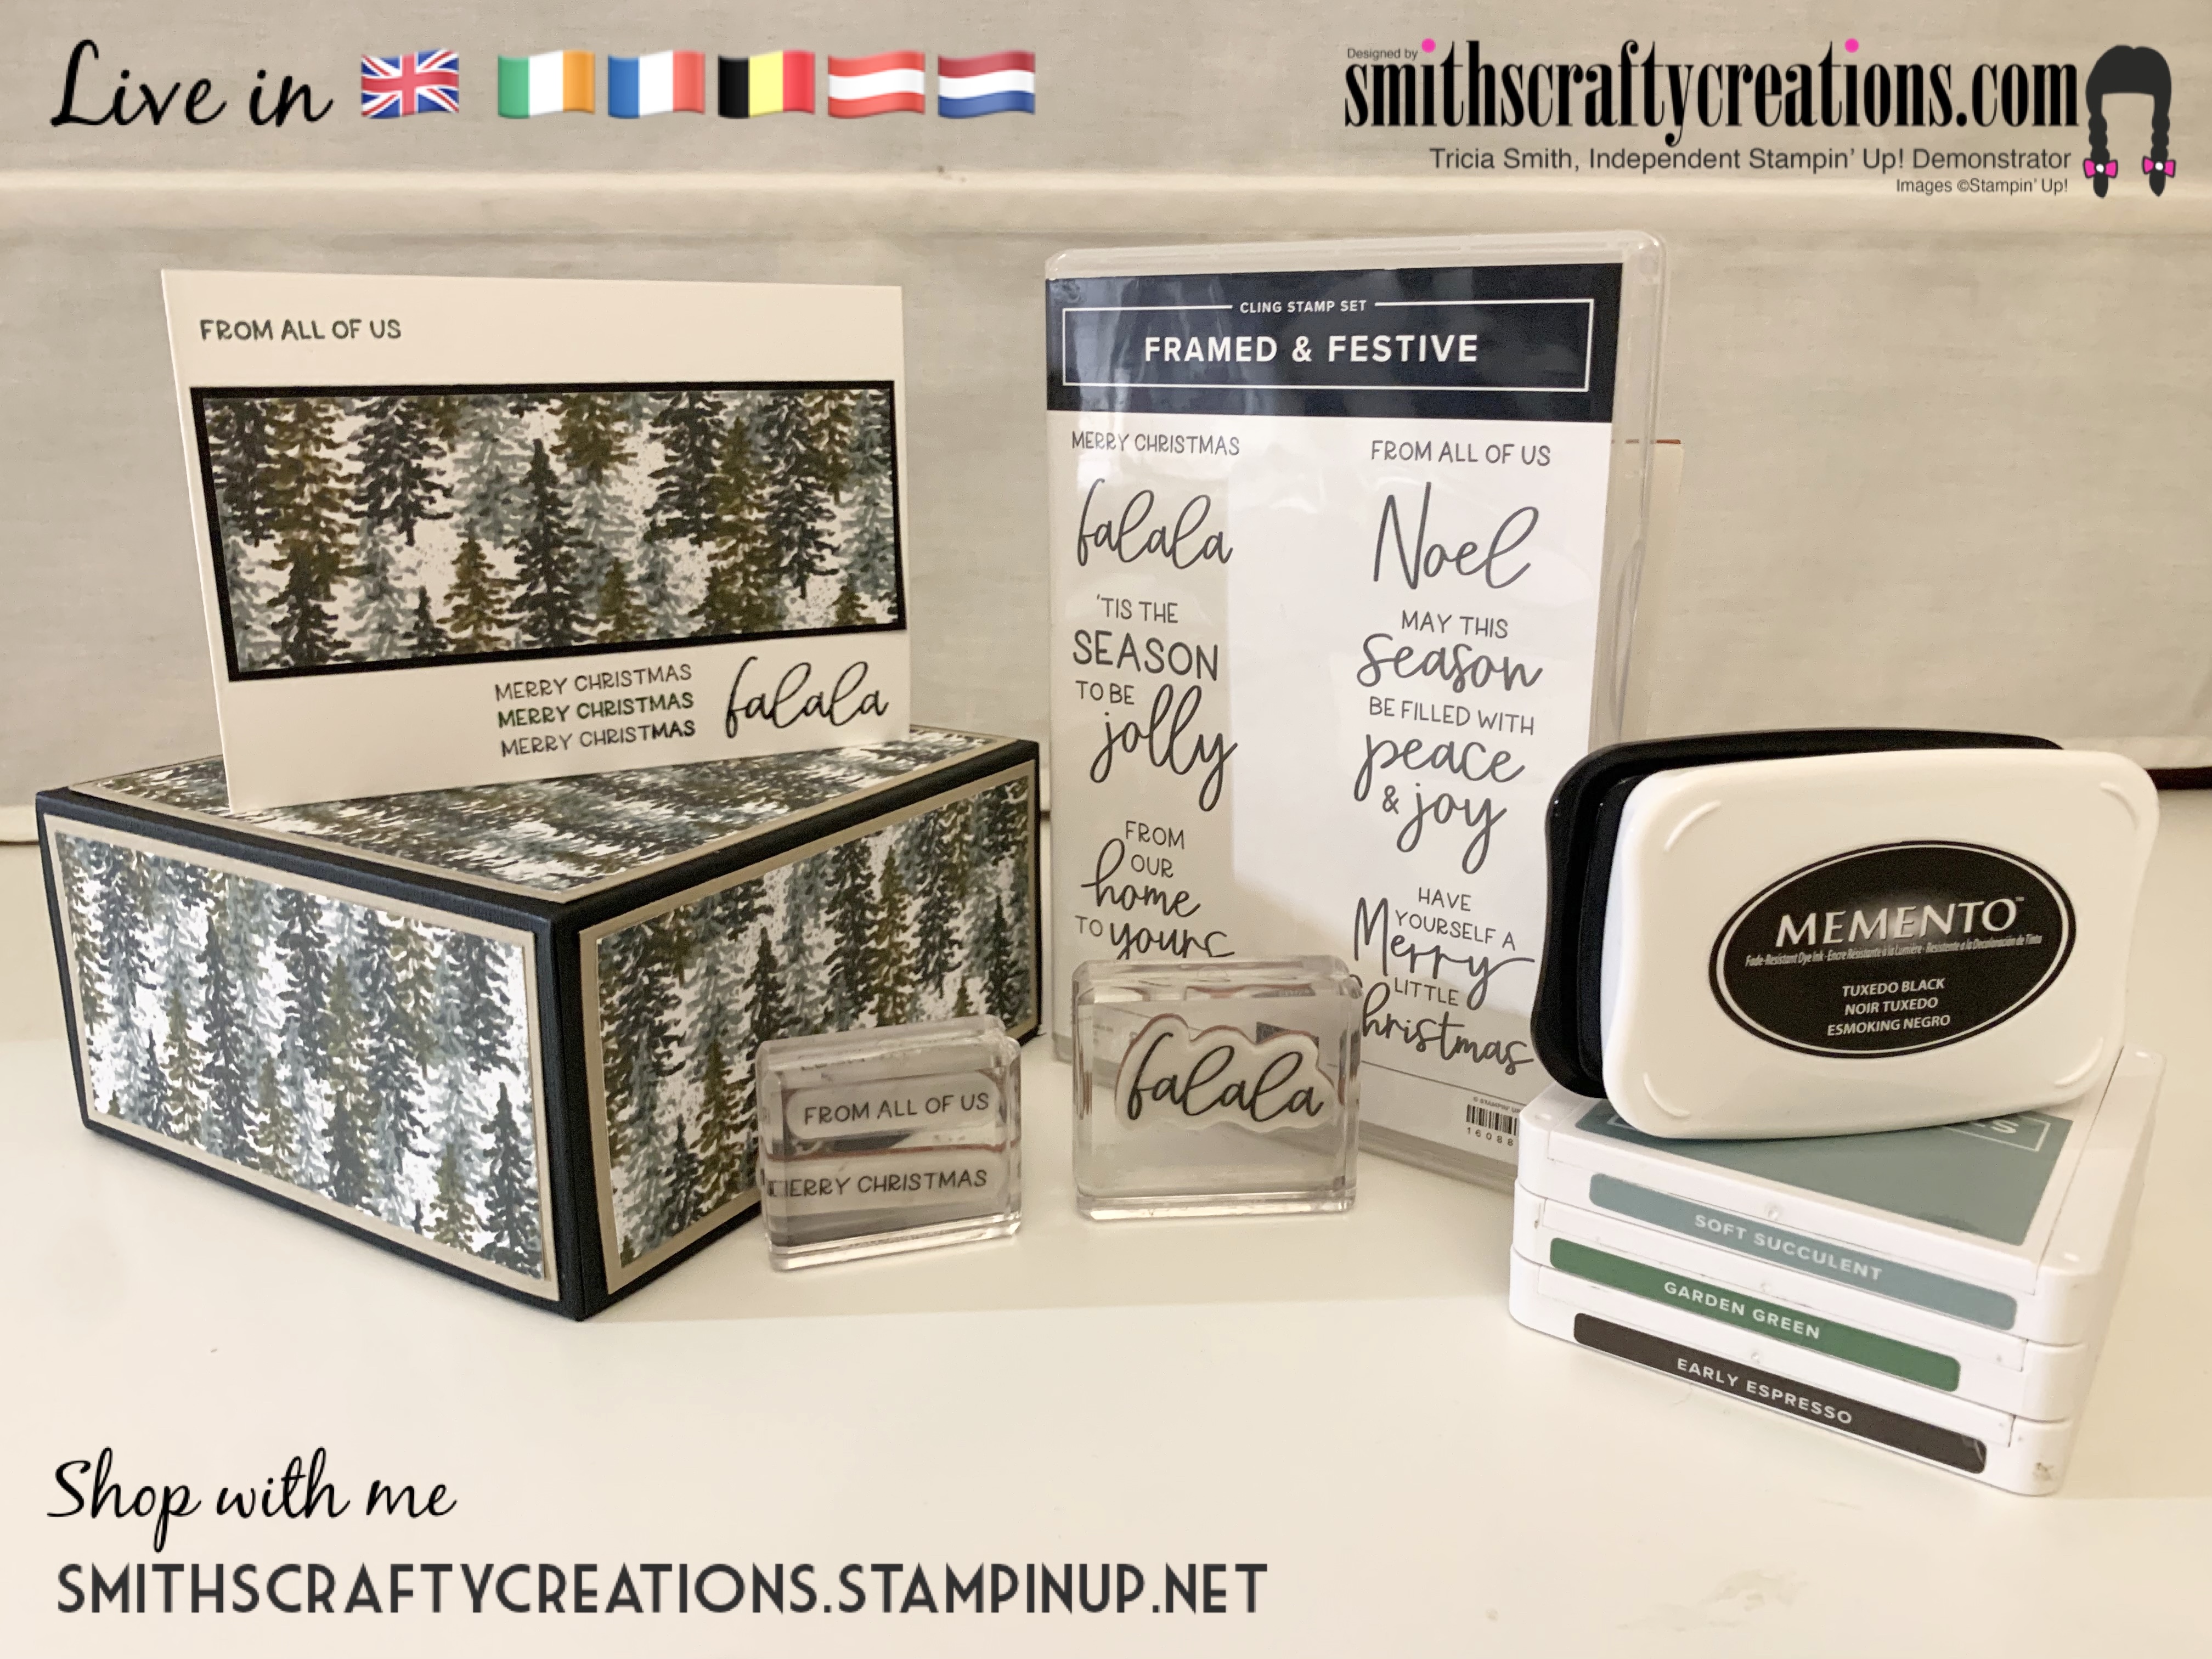
November Challenge Blog Hop My blog today is part of the November Challenge Blog Hop that I am taking part in today. I used the Boughs of Holly Designer Series Paper, our black 12 x 12 cardstock, crumb cake cardstock and co-ordinating inks. I had fun making this box and card project today as not only was it perfect for this challenge, but perfect for festive packaging that is needed this month. This is a 6" x 3" x 3" reinforced lidded box. Perfect for gift giving this festive holiday season. Project Measurements and Instructions Box You will need 12x12 cardstock, 12 x 12 piece of DSP, co-ordinating inks as per challenge instructions and basic crafting supplies. Box Base: score a piece of your 12 x 12 cardstock at 3" on all four sides Box Lid: same as base but for your first two scores, move your cardstock a 16th of an inch away from your score guide before scoring. Score other two sides at 3" Cutting Cut up one score line on each side to the point it meets the other score. This gives you four glue tabs. Take a wedge off of each side of your four tabs (this will reduce any potential overhang of card when glued together). Repeat on the other sheet. Mats and Layers Lid and inside base: You will need two pieces of co-ordinating card cut down to 5-3/4" x 5-3/4" for the first mat. For the second mat cut co-ordinating DSP down to 5-1/2" x 5-1/2" Box sides (Lid only): You will need four pieces of co-ordinating card cut down to 5-3/4" x 2-3/4" for the first mat. For the second mat cut co-ordinating DSP down to 5-1/2" x 2-1/2" (bear in mind direction of cutting if using directional DSP) Construct your box Adhere your mat layers to a) inside box base b) top of box lid and c) sides of box lid (if you prefer to do this after you've constructed your box, then please do) I recommend using tear n tape and a little tombow glue to adhere your tabs to the sides of both your box base and box lid. Card UK sizing: Cut a piece of basic white A4 cardstock down the longest side at 4-1/8" to give you a C6 tent fold Take a piece of DSP left over from making the box and cut down to 5-1/2" x 2-1/8" and layer on to a piece of co-ordinating cardstock measuring 5-5/8" x 2-1/4" Adhere this to your card (depending on pattern depends on whether your card will be horizontal or portrait) Stamp sentiment(s) of choice and add embellishments if you wish